What's up everypony?
So you made yourself 20% cooler with the
Rainbow Dash Shirt and now you can...you know what, this whole 20% cooler thing has been done a lot. Let's just get onto the nail art.
You'll need a lot of colors for this.
Sky blue for the base.
Red, orange, yellow, green, purple nail art polishes (use fine-tipped brushes if you can't find specific nail art polishes) (why no blue? you'll see why)
All of mine were from a dollar store, so they're not really brand name stuff.
Actually the yellow looked kind of gross in the bottle, but worked out fine.
Anyways!
Paint the nails with the sky blue. If you do like I did and buy the cheap dollar store polish, you'll need two coats and it'll take about an hour to dry.
Or find some quick-drying polish. I timed one of those one time and it actually did take ten seconds flat. Couldn't find it for this color unfortunately.
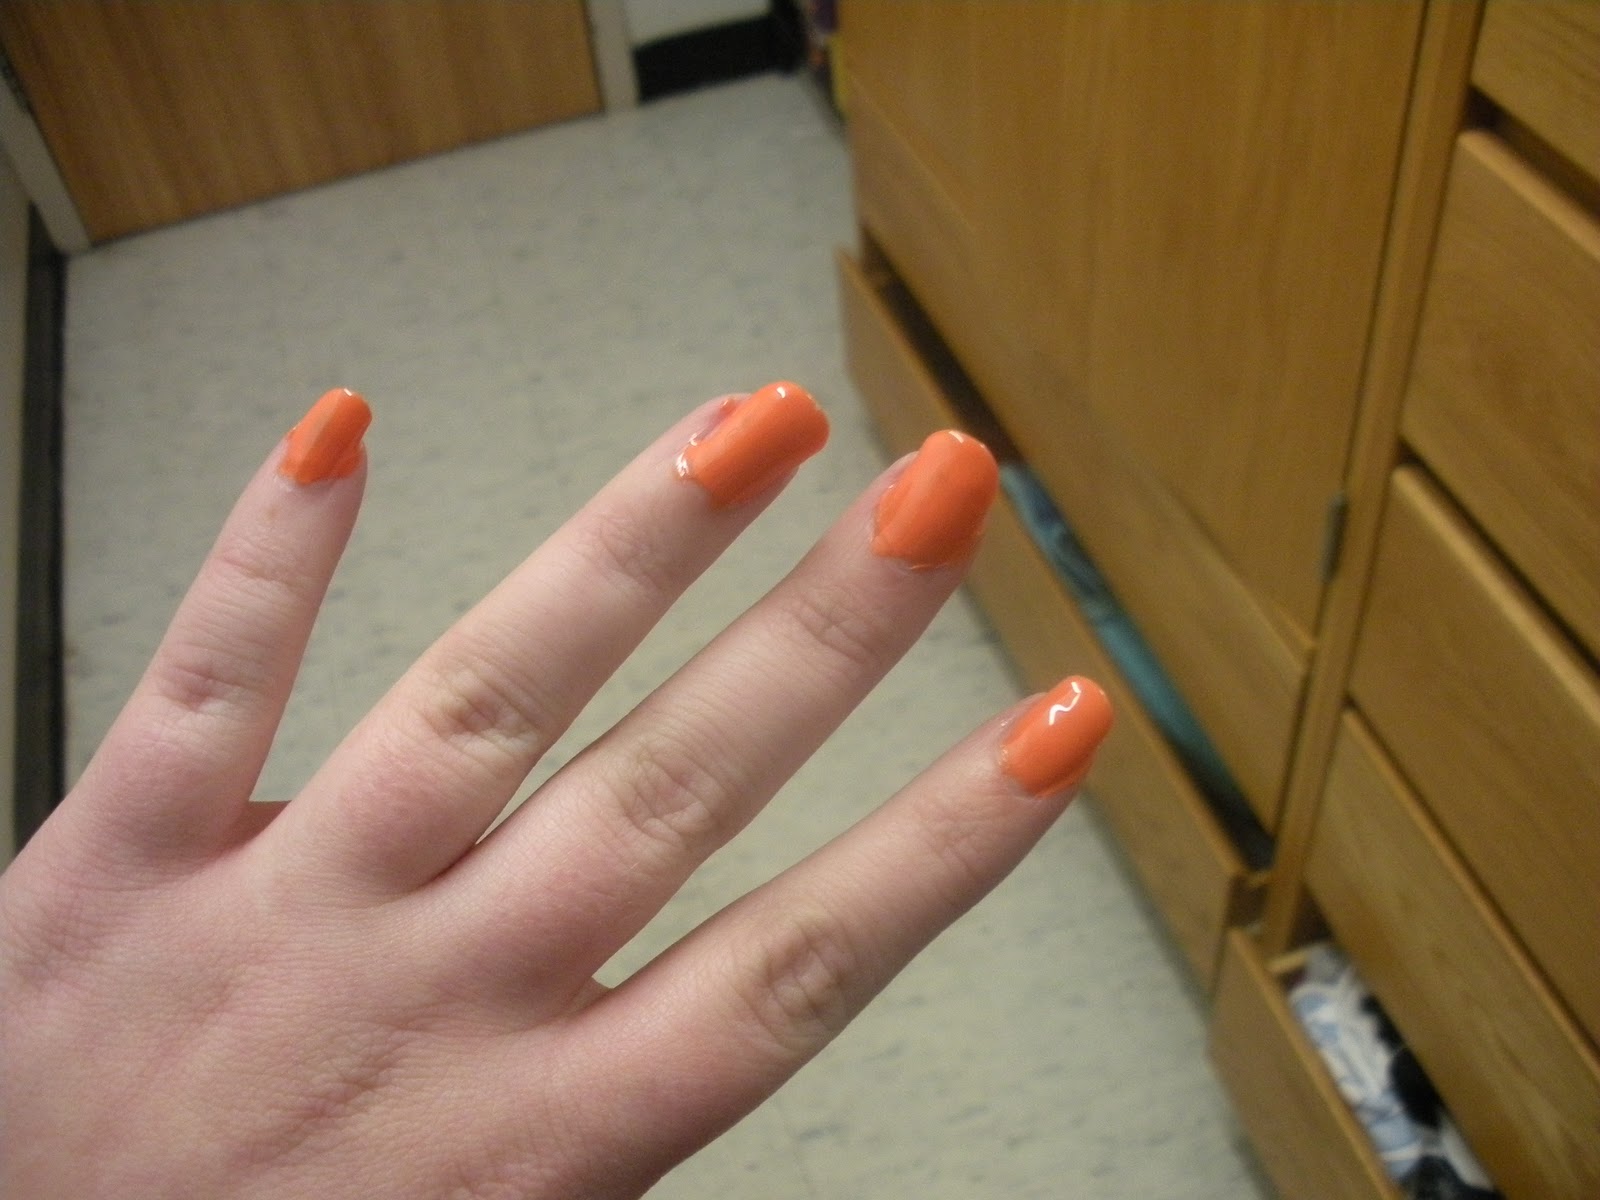
Use the nail art pens to draw a zigzag line on each nail, each nail with a different color.
Like so. Except not blurry.
I don't have the manual for my camera, I can't change the settings, okay?
And tada, Rainbow Dash nails. Make sure to cover with a clear topcoat if you don't want them to chip.
Also, see why no blue? you only have 5 fingers and if you want your hands to be mirror images of each other...I mean, you
could do all 6 colors if you wanted, continue on your other hand, but I didn't really want to do that.


